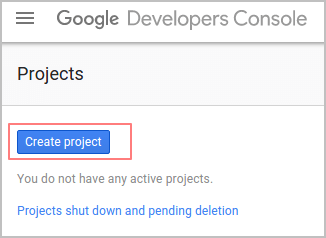
- Connect to your Google account and go to https://console.developers.google.com/.
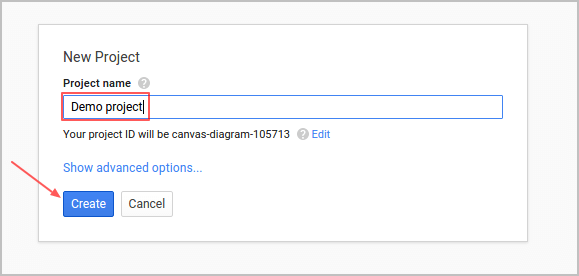
- Click on Create Project and enter the project name and other details.
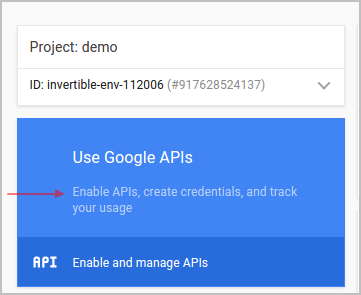
- Click on Use Google APIs
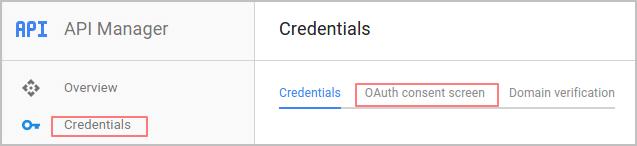
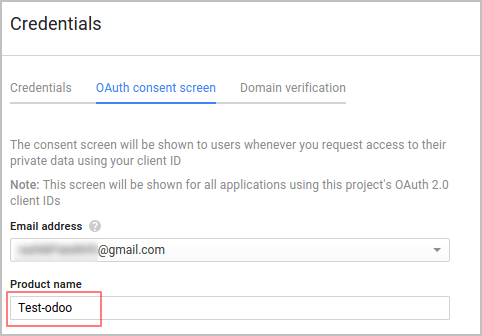
- On the left side menu, select the sub menu Credentials (from API Manager) then select OAuth consent screen.
- Fill in your address, email and the product name (for example odoo) and then save.
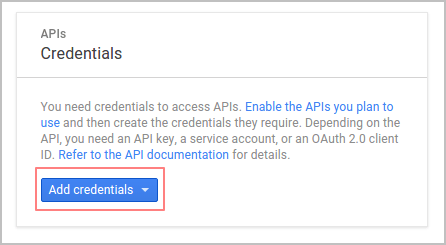
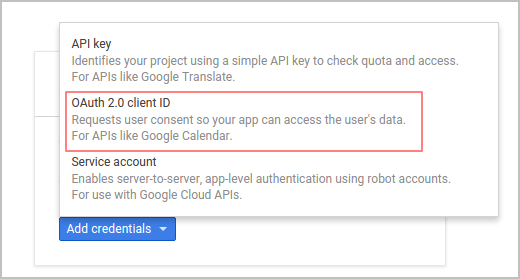
- Then click on Add Credentials and select the second option (OAuth 2.0 Client ID).
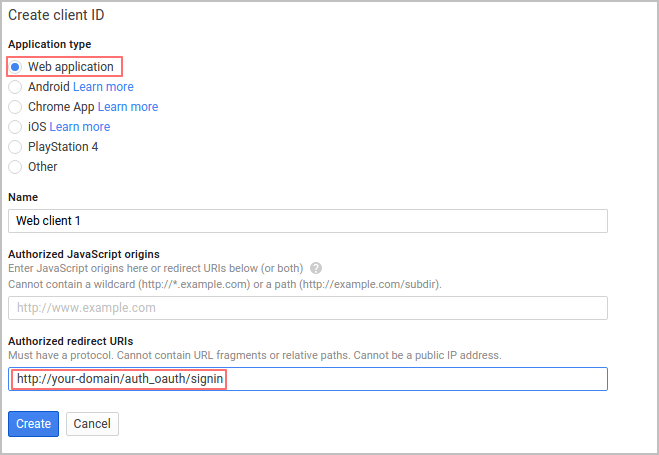
- Check that the application type is set on Web Application. Now configure the allowed pages on which you will be redirected.
- To achieve this, complete the field Authorized redirect URIs. Copy paste the following link in the box: http://mydomain.odoo.com/auth_oauth/signin. Then click on Create
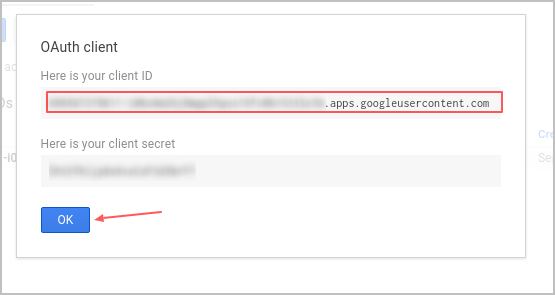
- Once done, you receive two information (your Client ID and Client Secret). You have to insert your Client ID in the General Settings.