设置
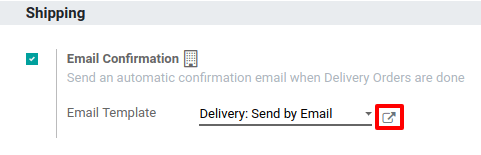
首先,进入*库存*应用程序,然后进入*设置*并启用*邮件确认*功能。如你操作多家公司,这项配置需针对具体的公司。

当你启用这项功能时,Odoo自动创建邮件模板。当然,如有必要,你可点击模板名称旁边的小箭头,修改其名称。
发货确认时发送邮件
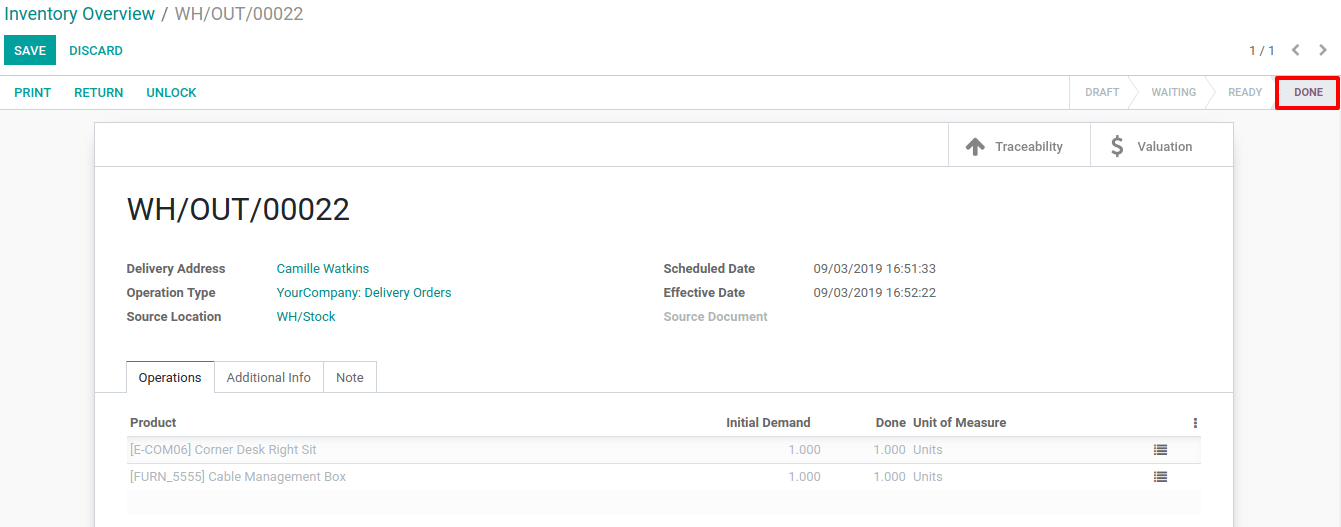
在库存仪表板上,点击*创建*并针对特定合作伙伴填写表单。在其中加入一些产品后,[UNKNOWN NODE problematic]确认*并对发货进行同样操作。
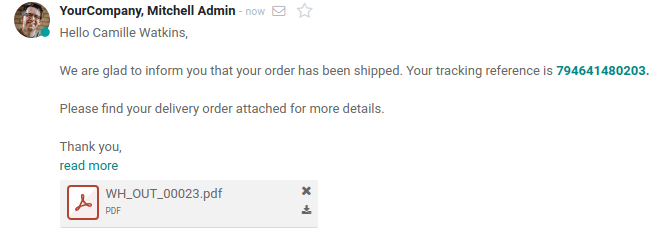
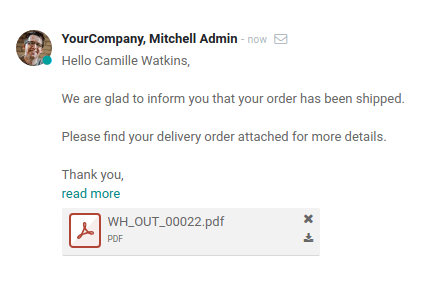
这样,自动邮件将被发出并出现在沟通栏中。
如你设置发货方式,然后附上追踪链接,则也将被列入标准邮件模板。